


-
0voteA:
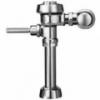
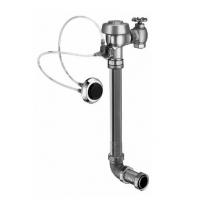
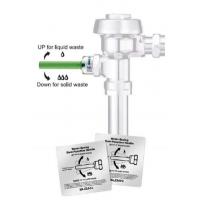
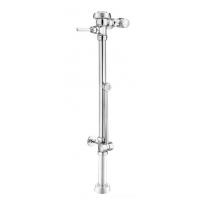
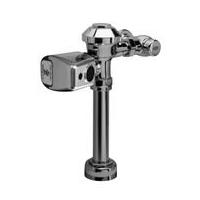
Here are the steps to replacing this Sloan Royal Overhaul Kit:
1) Turn the water off by turning the screw on the shut-off valve clockwise with a straight blade screwdriver. Flush the Urinal to relieve the pressure in the valve.
2) Loosen the top Chrome Cap of the Flush Valve Body using a smooth jaw wrench and remove the Cap.
3) Take out the old plastic Inner Cover and Diaphragm and replace with the new Diaphragm & Inner Cover inside the Flush Valve Body.
4) Tighten the outer Chrome Cap back onto the main Flush Valve Body.
5) Unthread the nuts at the bottom and side of the Flush Valve Body and remove the Main Body.
6) Remove the O-Ring on the Tailpiece using a straight blade screwdriver to pry it off. Replace the O-Ring with the new one by simply sliding it into place.
7) Lift up the rubber Vacuum Breaker Repair Kit and replace with the new one by pushing down until it rests in place.
8) Thread the nuts to the Flush Valve Body back into place. Hand tighten to ensure that the fixture is straight before doing a final tightening of all nuts.
9) Loosen the nut to the handle with a wrench until you can remove the handle by hand. Using a small wrench, loosen the nut inside the handle until you can remove the Handle Repair Kit by hand.
10) Replace the Handle Kit with a new one by screwing it into place and tighten the handle nut back onto the Flush Valve Body.
11) Finally, turn the water back on by turning the shut-off screw counterclockwise.
If you have any other questions our experts are here to help! Call or text 800-518-5388
Posted by Kully Supply on Wednesday, September 6, 2017
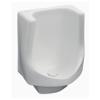
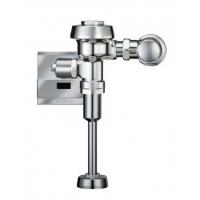
Posted on Friday, September 1, 2017 on product Sloan Royal A-1127-A Urinal Overhaul Kit 1.0 GPF
-
About
-
Customer center
-
Info
-
Visit Kully Supply2110 West County Rd 42
Burnsville, MN 55337
1.800.518.5388get directions -


video title
video content